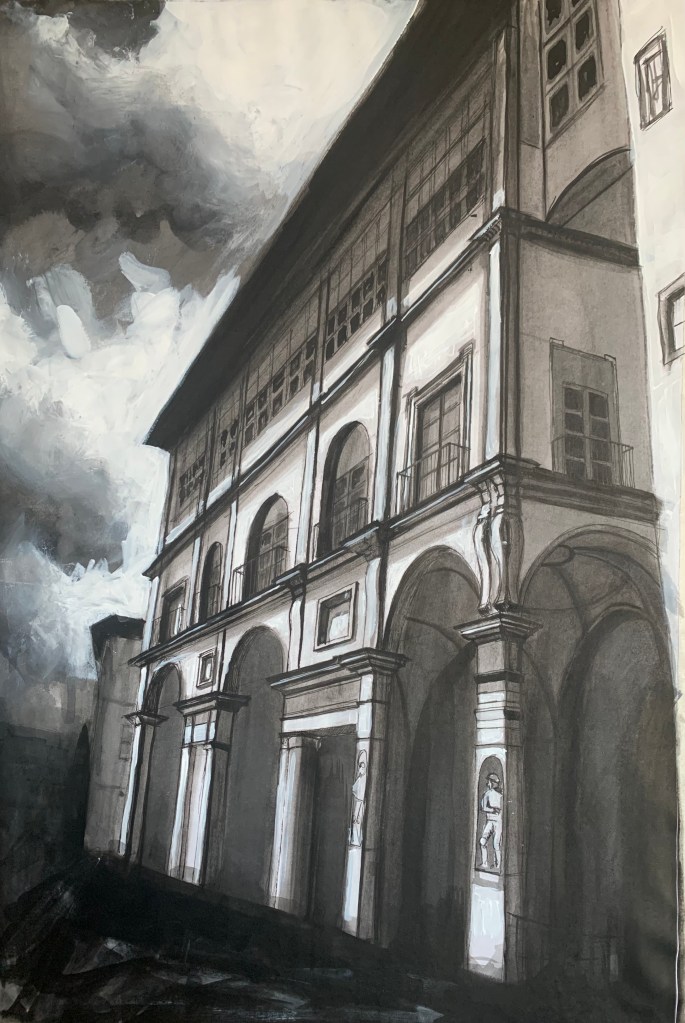
This week I finished this painting of a building in Florence:
Therefore, I wanted to talk in a bit more detail about the process behind creating a painting like this.
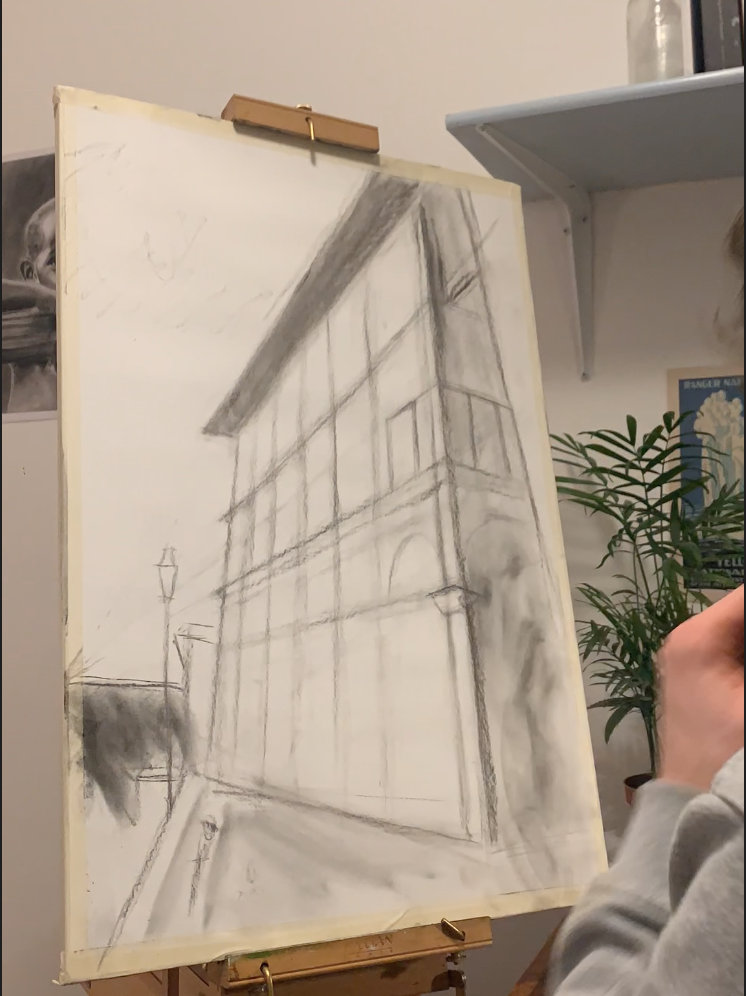
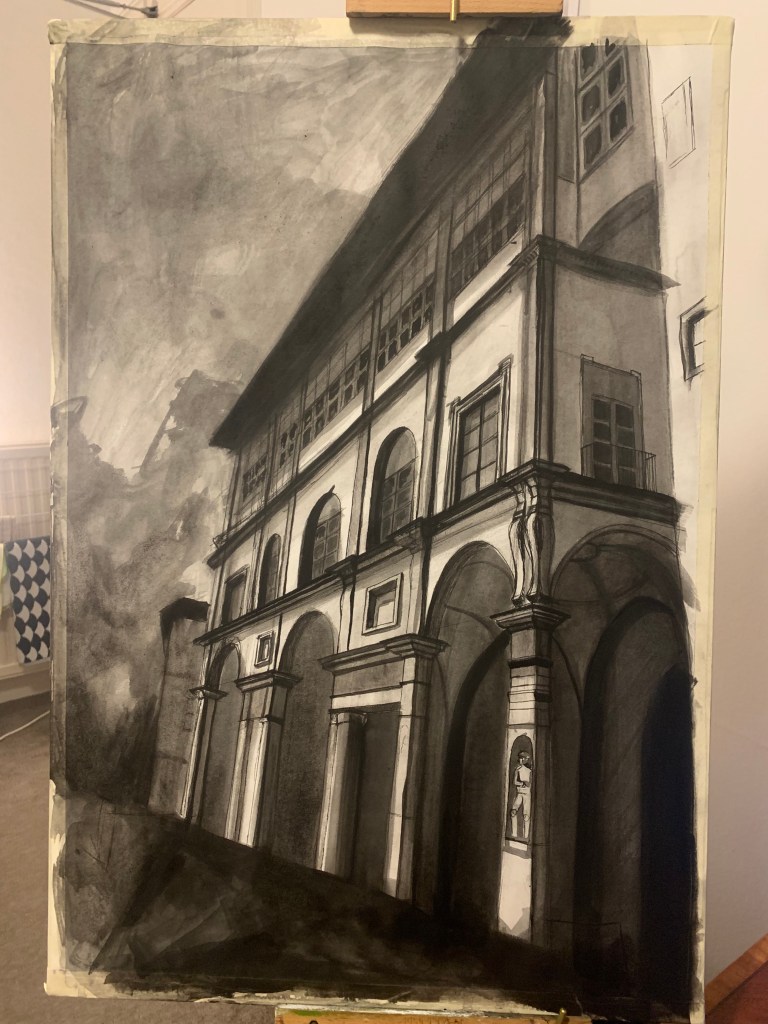
Stage 1: Sketching and Planning
This stage is always loose and expressive. In this particular painting I used a very soft charcoal stick so that I could easily rub it around the canvas and change all of the inevitable mistakes that will happen. That is something that a lot of people struggle with when they try to make art; becoming obsessed with getting it perfect first time. This never happens. The more mistakes you can make in the early stages, the more likely it will be that you find the right proportions and tonal values. It is also easier to correct mistakes at the start when you don’t have too much detail or too many dark marks that are difficult to cover.
In order to get comfortable with imperfection, try working faster and more instinctively for a change. For example if you would usually spend 5 hours creating a portrait, set a timer for half an hour, 10 minutes, or even just 1 minute, and see what you can create. Simply making more drawings/paintings provides more opportunities to make mistakes, creating better opportunities for learning and improvement.
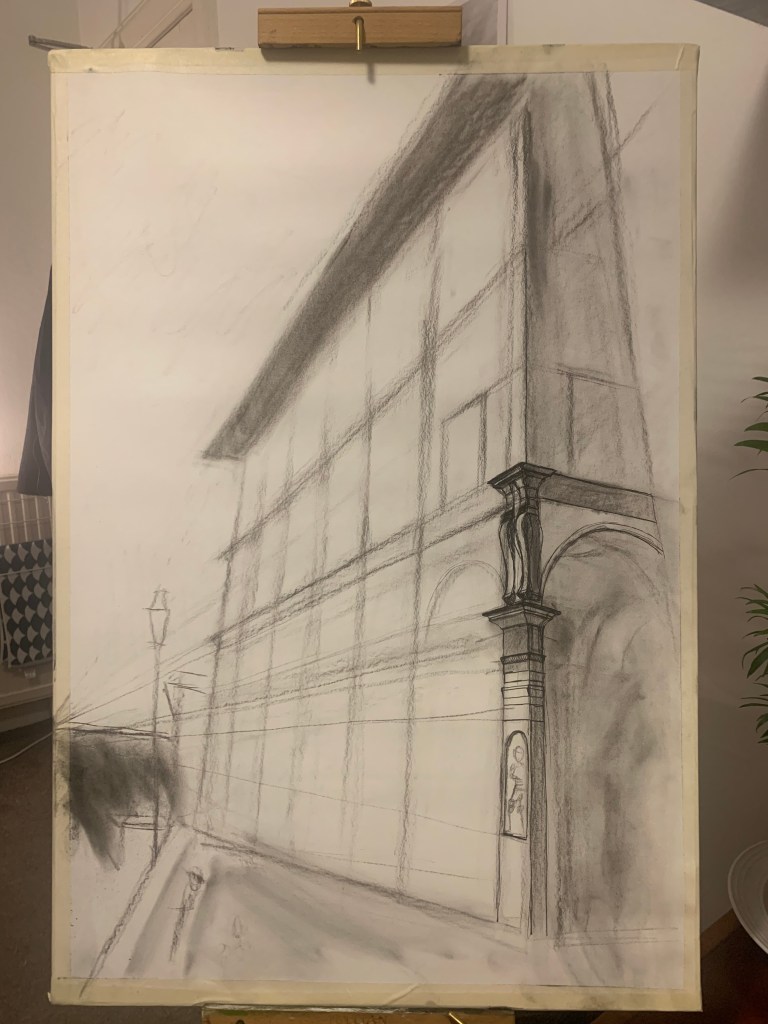
Stage 2: Modelling
This is when I start increasing the contrast and begin adding more detail into the painting. Hopefully by now I have the proportions down and everything is where it should be (however, if I have got it wrong it can always be changed).
In this stage I introduced a black drawing pen to start getting into some of the more detailed areas and gradually increase the darkness and contrast. I thought that the building I used as a reference was quite gothic and so I wanted to create a mood that reflected this, with very dark, gloomy shadows. This is a style I love to play around with and is something that was inspired by the artist John Virtue. He is know for his mono-chromatic and atmospheric paintings of London:
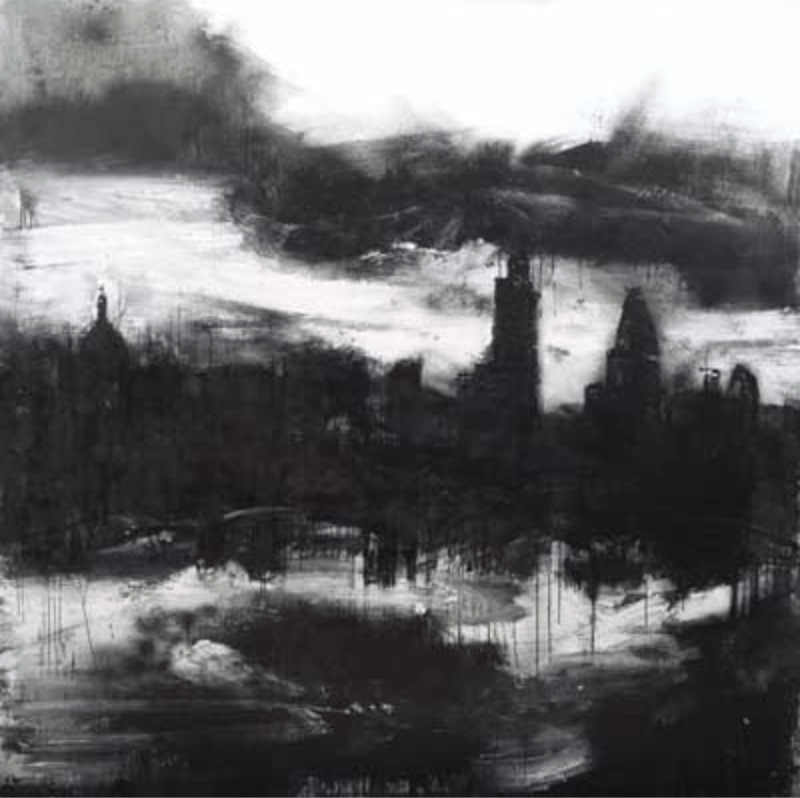
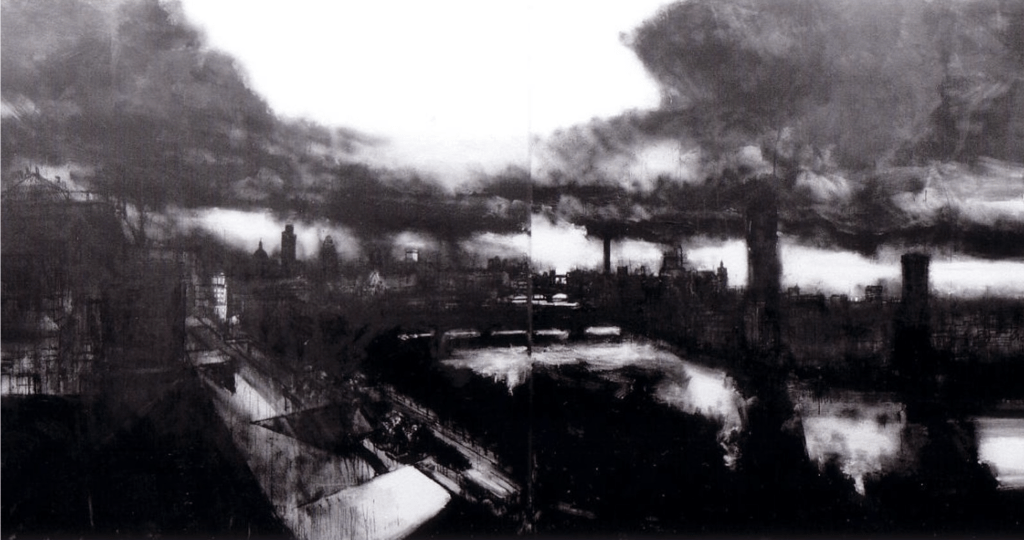
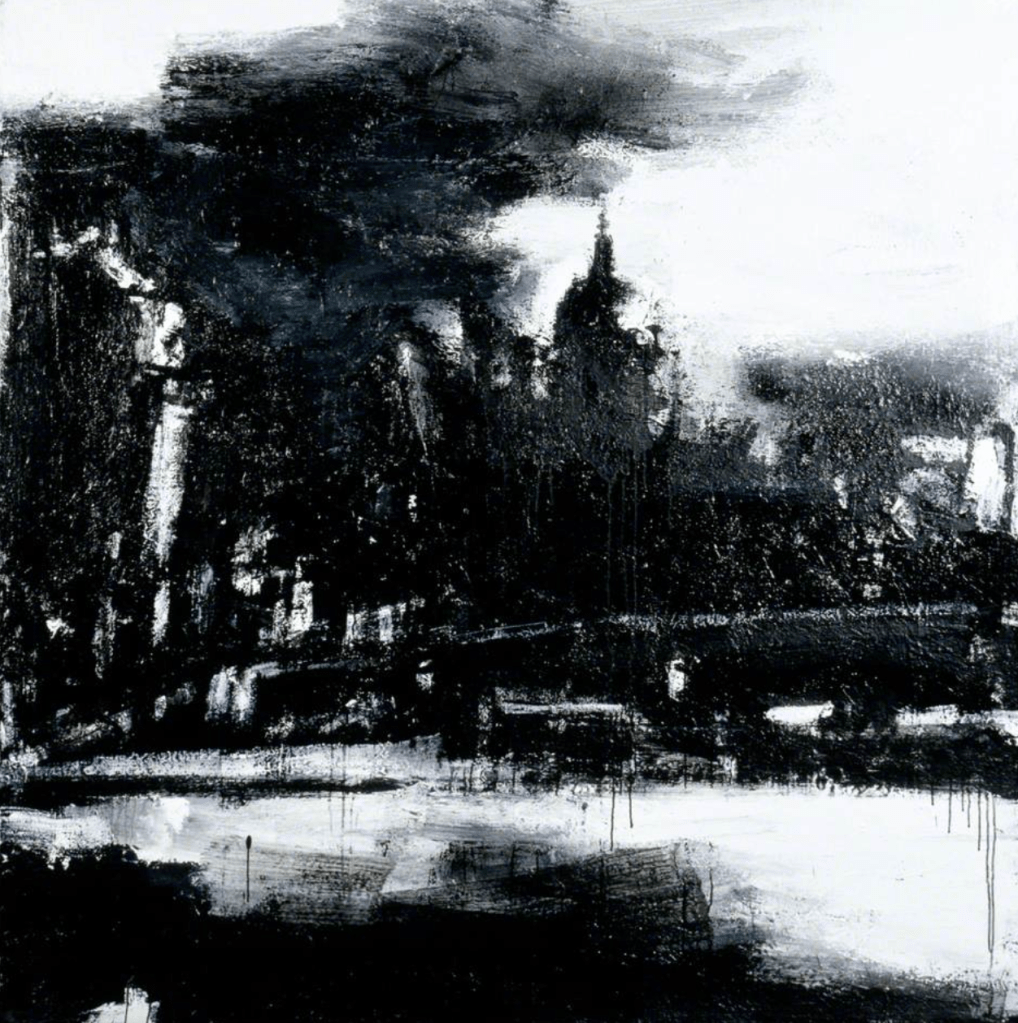
John Virtue London paintings:
- What I love about these paintings is that the artist is able to create such a powerful representation of place and the atmosphere of London without the use of too much detail or figurative clarity.
Sometimes I get too caught up in the detail and become too tight and restrictive in the marks I am making. This almost always leads to worse work. Going forward I want to try to take some of these lessons from John Virtue and just be more expressive and instinctive.
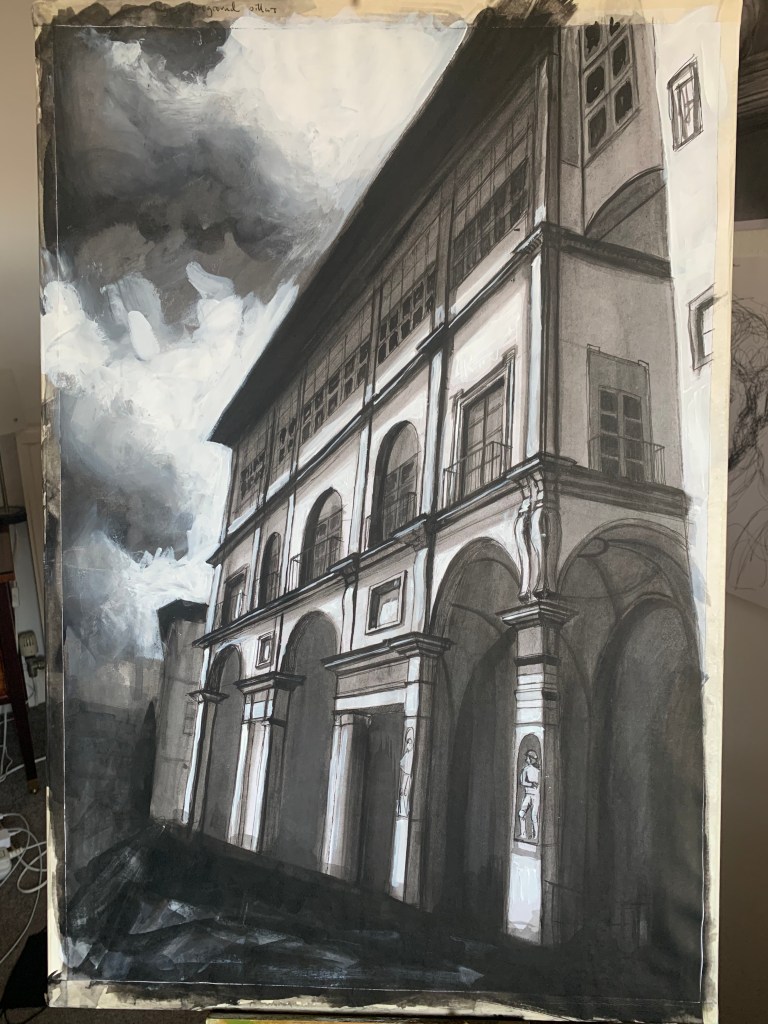
Stage 3: Final touches and detail
This is when it all comes together. The distinction between the end of the modelling stage and this final stage is often quite vague, however in this particular painting it was pretty clear and was marked by the introduction of the white acrylic paint. I saved the white paint until last because I was working with charcoal and black Indian ink for the black and grey areas which as materials are not very opaque. Therefore, if there was white paint in the highlights from the start and I later decided I wanted to remove it (which often happens) it would be very hard to do. Because of this I only put the paint on at the very end when I was sure that I knew where everything was going.
Adding the white highlights in the building was my favourite part of this whole process. It truly made the building come alive and the white in the sky added another level of dynamism and energy.
Overall this was something a little different for me. It had been a while since I last painted anything architectural. However, I think I am going to be doing it more often going forward as I thoroughly enjoyed the process!
As always thanks for reading!
Samuel

Leave a comment